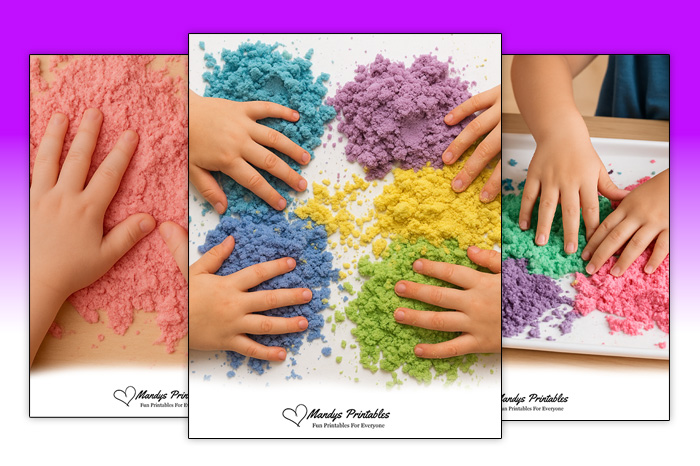
How to Make Moon Sand: Easy DIY Sensory Activity for Kids
Moon sand is a fantastic sensory activity for kids, and as it only contains two ingredients it’s just so easy to make at home!
If you’ve never heard of it, your kids will LOVE moon sand! It has many benefits due to its unique sensory experience – it’s a soft and crumbly texture which doesn’t dry out and molds into different shapes easily.
In my post today I’ll be explaining moon sand, why it’s great for kids, and how to make it at home. This will include lots of different recipe variations you can try, helpful clean up tips, and play ideas!
It’s something my daughter loved to play with when she was younger, and I’m sure your kids will do too – either on a rainy day, as a family activity, or even in a classroom.
What Is Moon Sand and Why Kids Love It
Moon sand contains only flour and an oil – this makes it incredibly cheap, accessible and easy to make at home.
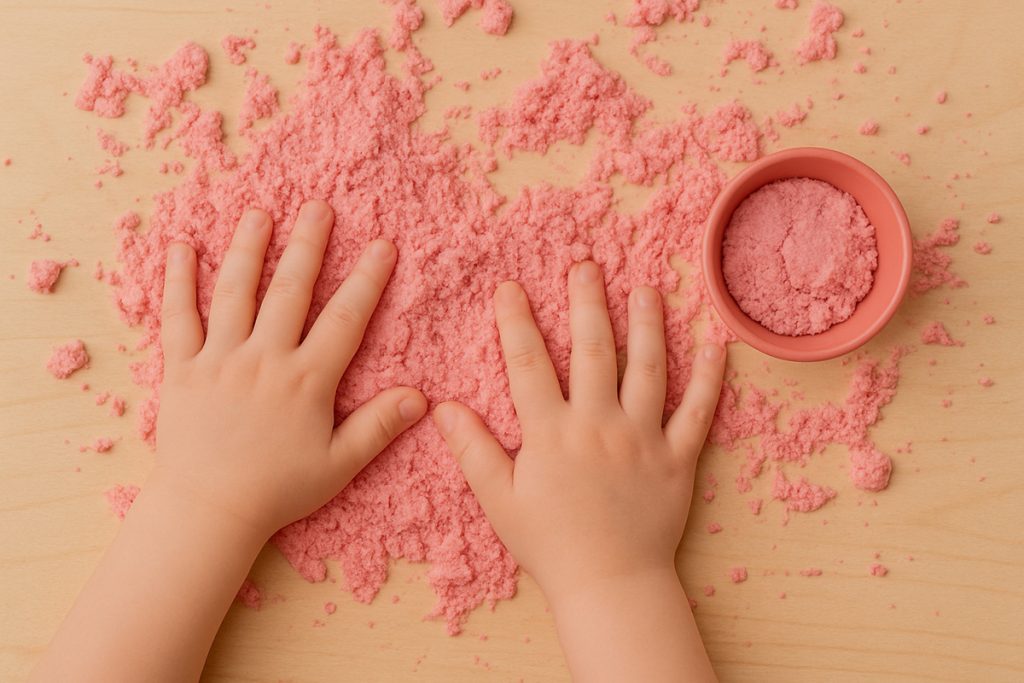
Moon sand itself is a soft, sand-like crumbly texture. It can be sculpted into various different shapes but will also crumble back to its original state.
The main benefit of moon sand is its unique texture and the sensory benefits of this. This is especially true for little ones, but has benefits for all kids.
Play itself is so important for children’s learning and development. But sensory play in particular stimulates cognitive development. It engages the senses, and moon sand can engage all 5 senses easily.
This helps children better understand the environments they’re surrounded by, and encourages them to explore more. Their brains develop more and strengthen.
Sensory play also encourages motor skill development. The soft but moldable texture of this moon sand means it’s full of different textures for kids to explore.
Importantly, sensory play like this can have emotional benefits too – calming and regulating stress levels. Kids will be concentrating on the play and be in a flow state of sorts. This means the play itself can be a great way for kids to interact with peers and boost their social interaction skills, while they’re having calming fun.
As well as these key sensory benefits, it’s of course working their problem solving and creativity.
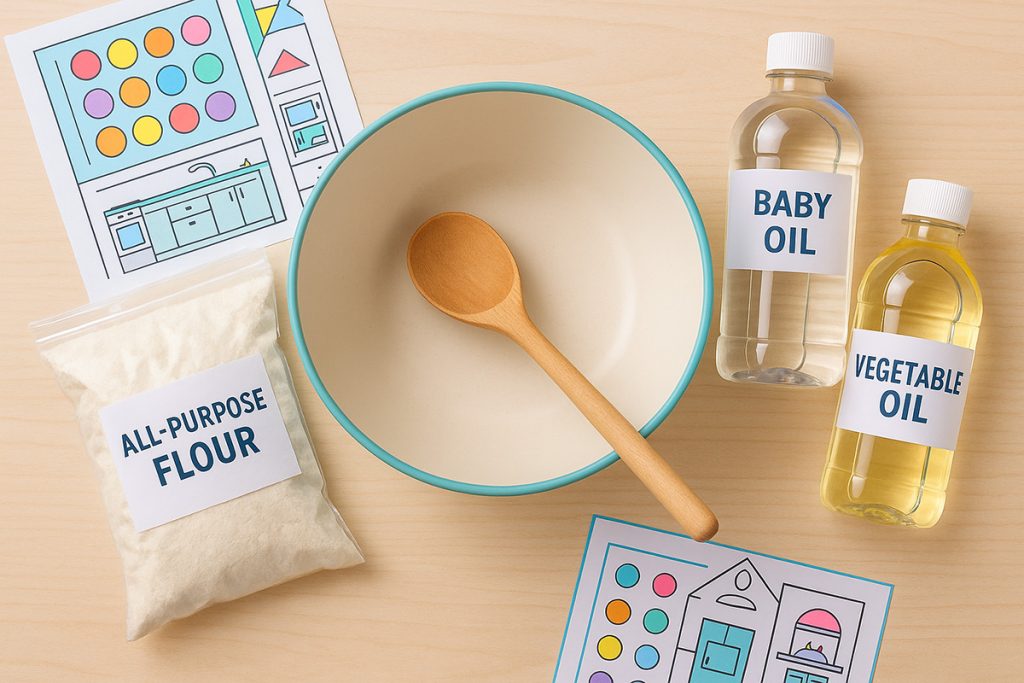
What You Need to Make Moon Sand
Making moon sand literally couldn’t be easier. The basic recipe includes only two ingredients, although we’ll be providing some variations later too.
Here’s what you’ll need for the basic recipe:
8 cups of all-purpose flour
1 cup of baby oil, or vegetable oil
Baby oil and vegetable oil are interchangeable here, and what you use depends on what’s available to you as well and whether you’d like the moon sand to be taste safe or not. If you would, use vegetable oil.
Then the only other things you need is a large mixing bowl and a mixing spoon.
Step-by-Step Moon Sand Recipe Instructions
Here’s the full instructions needed for you to make this basic moon sand recipe. Follow along, and get your kids to help out for sure.
Gather the ingredients.
Gather all of your ingredients needed to make the moon sand.Measure out the flour.
Measure out 8 cups of all-purpose flour into the large mixing bowl.Add the oil.
Measure out, and then slowly add the 1 cup of oil you’ve chosen to use into the mixing bowl.Mix together.
Use your mixing spoon to combine the two ingredients thoroughly, which can sometimes take up to 5 minutes. You’ll know it’s ready when it holds its shape when you squeeze it, but still crumbles like damp sand.Play!
Now your moon sand is ready, it’s time to begin the fun sensory play!
If you’re struggling to get the moon sand to the right texture, you can add a little extra oil (if too dry) or flour (if too damp). Add this only a little at a time, and mix thoroughly.
What’s most important about these instructions is the ratio of 8 parts flour, to 1 part oil. You can make the moon sand in any volume you would like, by following this ratio.
Curious about the science behind how moon sand works? Check out this kinetic sand explanation from Live Science.
Tips for Making the Perfect Moon Sand at Home
Here we have a number of tips to ensure your moon sand is the best it can be!
If you’re worried your kids may want to eat the moon sand and you don’t want them to, the safest thing to do is supervise them.
As the recipe is so easy to make, it’s the perfect thing to get your kids involved! There’s no kitchen dangers, so this can include kids of any ages!
You can add things to customize the moon sand to your kids and their likes. You can add color, glitter, texture, scents, and even make it edible! Keep reading to find out how.
Make sure not to add any water into the moon sand, either during play or clean up, as this will completely change the texture and consistency. It will become very messy and a glue-like texture.
Fun Moon Sand Variations to Try with Kids
There are lots of different variations that change the moon sand in lots of different ways. Here’s some suggestions.
How to Add Scents to Moon Sand
You can add a few drops of an essential oil at the same time as the baby/vegetable oil in order to make it smell nice. We’d suggest lavender for a calming effect or peppermint for an invigorating one!
If you’re looking to make your moon sand edible or are concerned your children may try and eat it, use flavoring oils instead.
How to Change the Texture of Your DIY Moon Sand
Add a tablespoon or two of cornmeal with the flour for a gritty feel to your moon sand.
Or add in some fine glitter for a sparkly effect that’s great to look at! You can even get edible glitter too.
How to Make Edible Moon Sand Safely
It is possible to make moon sand edible, but we wouldn’t recommend your kids eat large amounts of it.
Use vegetable oil or even coconut oil, which will smell nicer and likely taste better too.
If you’re worried your kids will consume a lot, you can bake your flour so it’s safe to eat too. Pre-heat your oven to 375°F, spread the flour evenly on a baking tray and bake for 5–10 minutes.
You can add powdered sugar or some crushed cereal or candy for a different texture and taste.
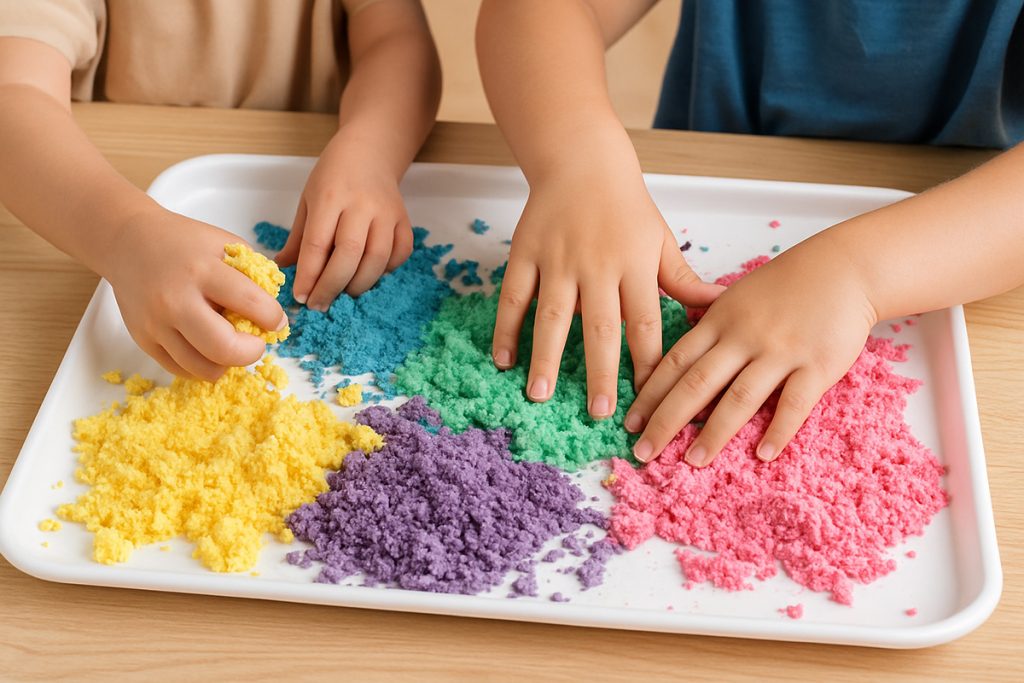
How to Color Homemade Moon Sand
You can add food coloring to the mixture, and so this at the same time as the oil. Gel or powder work best, as the liquid won’t mix well with the oil and will color unevenly.
If you don’t need it to be edible, you could use mica powder or powdered tempera paint. Add these in after the flour and oil is mixed.
Be aware that no matter what method of food coloring you use, you may have to adjust the ingredients slightly if the mixture becomes too damp or dry.
A Kool-Aid packet works well to scent, color, and make a batch of moon sand edible!
Gluten-Free Moon Sand Alternatives
You can use a gluten free flour like rice flour. With a different flour you may have to adjust the ratio of flour to oil.
Or replace the flour with cornstarch instead.
How to Store Moon Sand and Make It Last Longer
Moon sand will last anywhere between 2 weeks and a month.
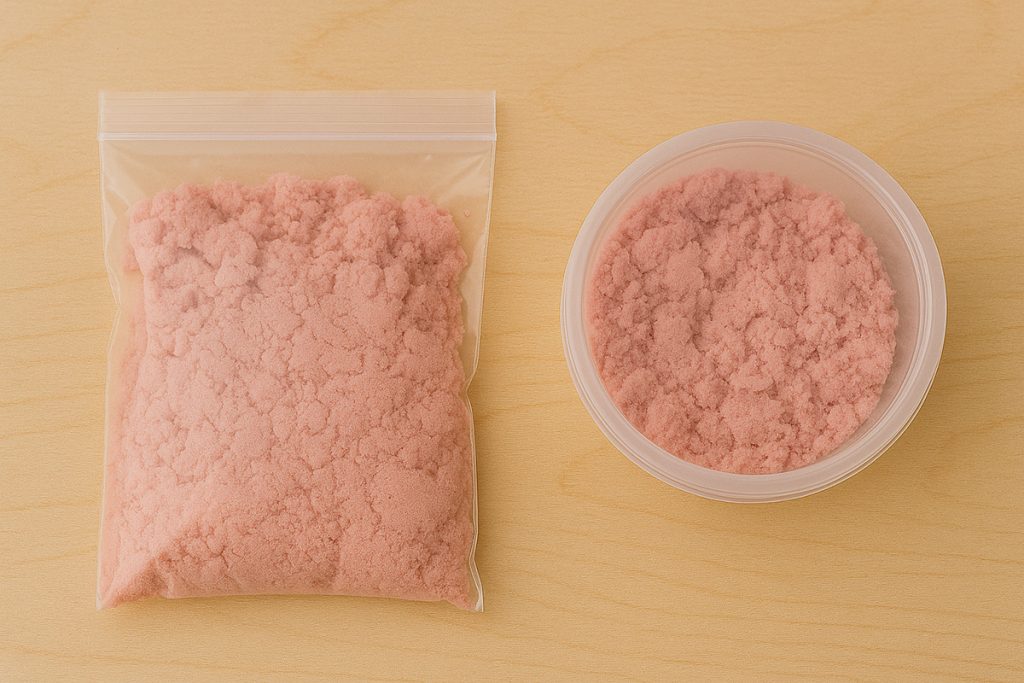
Make it last longer by storing it correctly—in an airtight container or bag (a Ziplock or sandwich bag).
Also make sure you’re hygienic with it—encourage your kids to wash their hands before and after they play with the moon sand.
And as always, if it begins to look off or smell funny then it’s best to throw the batch away and make a new one.
Moon Sand Safety Tips and Easy Clean-Up Ideas
If you’re worried or unsure, it’s always best to supervise your kids to make sure they’re safe and clean.
Also make one of the taste-safe options above if you’re worried they will or might want to eat the moon sand or put it in their mouth.
If you’re worried about mess in the house, then you can always play with it outside!
On a rainy day or if you’re playing indoors, you can use a sensory tub or even a baking sheet to try contain the moon sand. This works best with a drop cloth underneath it.
Moon sand vacuums up easily, and you can also sweep it up with a dry brush. Just make sure not to use any cleaning sprays or a wet cloth on the moon sand as getting any water into it will make it a messy, gluey mess that’s much more difficult to clean.
Creative Moon Sand Play Ideas for Kids
There are lots of fun activities and games that children can enjoy with moon sand.
One great idea is to get playdough molds and use these to make shapes. These, along with cookie cutters or even different measuring devices, can be a fantastic way for your kids to work more on their motor skills while having fun.
You can even make lots of moon sand and put it into a little sandbox. Add some beach toys (molds, a spade, a mini umbrella!) and build ‘sandcastles’.
With moon sand in a tub, you can make great themed play for your kids. Make it space themed with toy planets and stars, zoo themed with lots of little animals to play with, or even dinosaur themed with lots of dinosaurs and prehistoric features to explore.
Final Thoughts on Making and Playing with Moon Sand
Moon sand is full of great sensory benefits for kids, as well as being great fun to play with!
It’s so simple to make at home with your little ones, and the almost endless variations means you can make the perfect one for them.
We’d recommend you jump into the fun of moon sand right away and we hope you love it just as much as us!
More DIY Sensory Play Activities You’ll Love
If you loved this activity then we have plenty others for you too!
Try out this How to Make Puffy Paint at Home next
👉 https://mandysprintables.com/how-to-make-puffy-paint-at-home/
Or even this How to Make Slime at Home
👉 https://mandysprintables.com/how-to-make-slime/