Table of Contents
How To Make Playdough At Home
Today I’m discussing all things playdough – what it is, how to make playdough at home, how you and your kids can have fun with it, and lots of different recipes you can try together.
Playdough is timeless; my daughter loves it now just as much as I did growing up! It’s also a great thing to make yourself. This adds an extra creative layer to the fun by making it more customizable, and there are plenty of different methods.
This activity is great for parents and caregivers who are looking for a rainy day activity – one that involves no screens and is super hands-on, from making it yourself to playing with it afterward!

What is Playdough
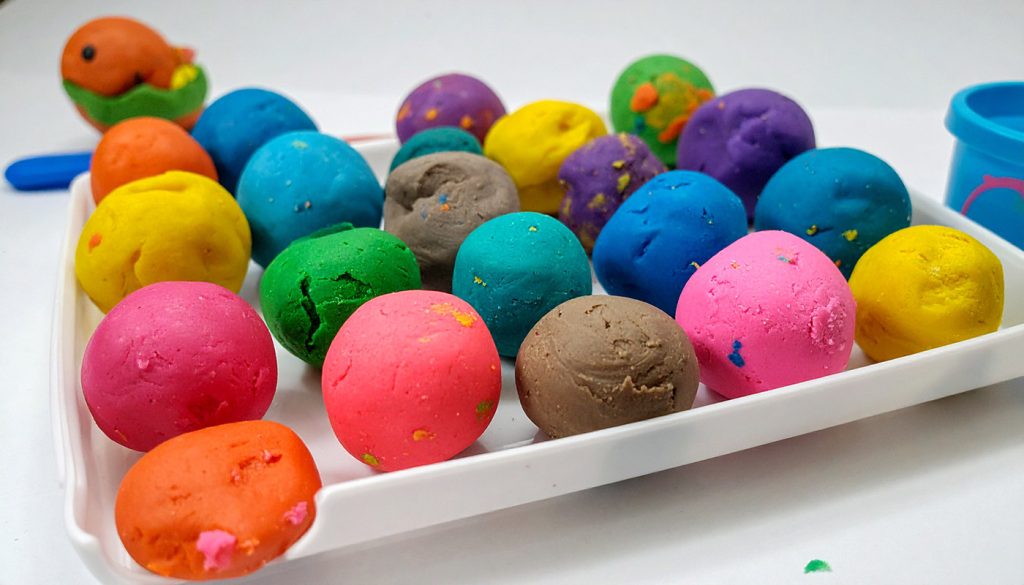
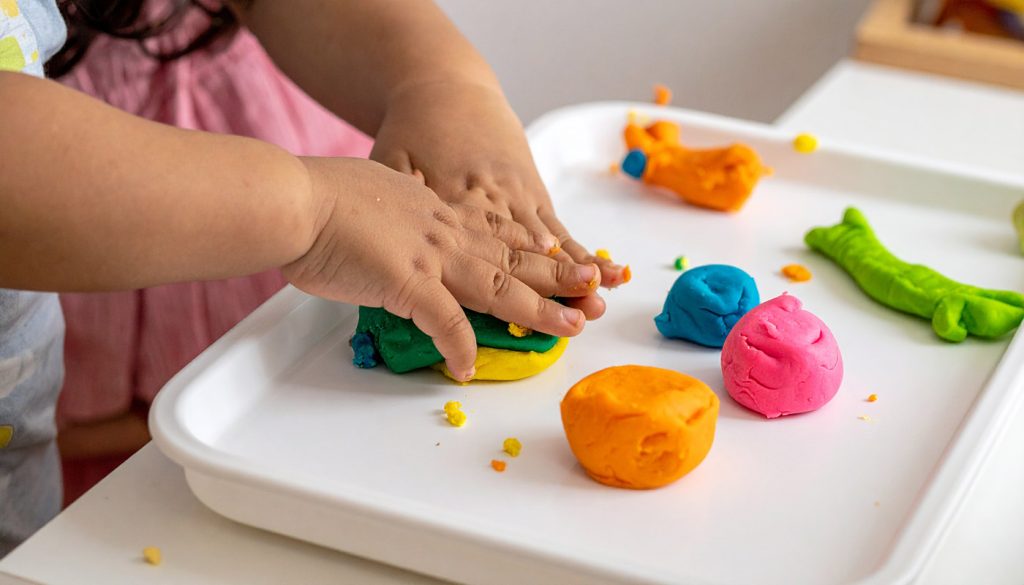
Playdough is simply a soft and moldable material which is often used by kids (and adults who love to craft!) to play, shape, sculpt and be creative with. It’s like slime!
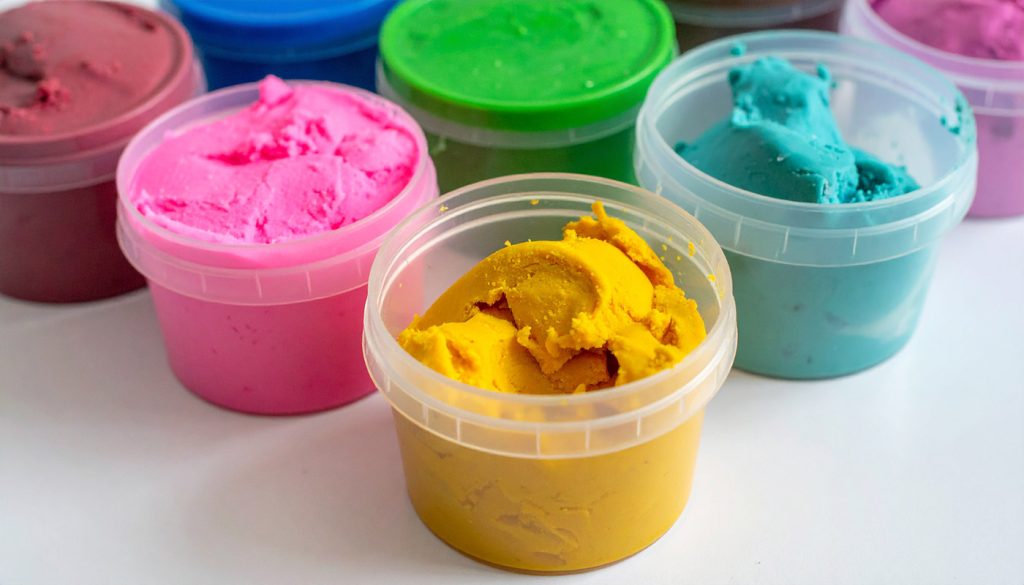
While you can of course get playdough at the store, it’s something I’ve always enjoyed making. You can control the exact ingredients, the color of the playdough, the scent, and the texture. It’ll be customized exactly for you!
Best of all is it’s much more budget friendly to make at home too.
Kids love playdough. It’s great creative play, is a great boredom buster for a rainy day, and there are a whole host of different sensory benefits to it.
It helps develop their fine motor skills through the play, the shaping, and the moulding. It strengthens their decision-making and problem-solving – they have to work out how to create different shapes and think about the steps to do so. It also can be a really calming activity that reduces their stress – it’s like a type of stress ball! And of course, it’s a great tool for creativity too.
Fun Play Ideas
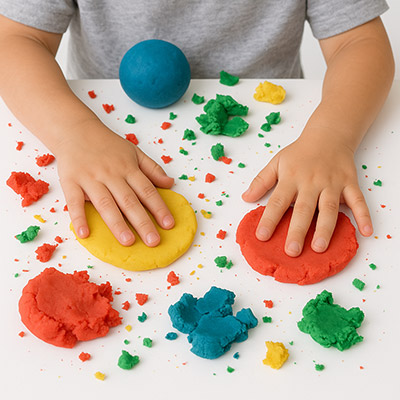
The best thing about playdough is you can do whatever you like with it – the only limit is your imagination! But if you’re looking for any ideas, then I have plenty. Here’s a list below:
• Shape tracing
Shape tracing – use different items to trace patterns in the playdough. Use anything for this – cookie cutters, coins, shells, cutlery, or even toy cars. You could also use our Printable Circle Templates to guide tracing practice!”
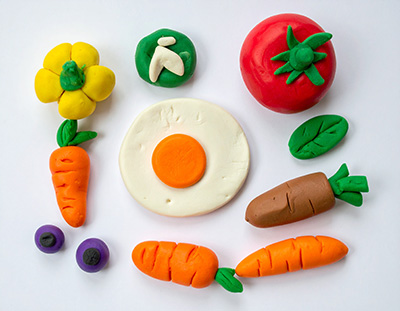
• Making pretend food
Task your kids with making different food shapes from playdough. Try making:
Pizzas – everyone can make their own favorite toppings.
Different pasta shapes.
Bakery items like cake or bread.
Fruits and vegetables, which are a fun and colorful option too.
• Letter and number shaping
This is a great activity for kids learning their letters, numbers, basic words, or counting. Task them with shaping different numbers and letters out of playdough, or even making some shapes so they can practice basic counting or sums.
• Create animal habitats
If you’re working with a few different colors, get your kids to make multilayered scenes like a pond, a cacti desert, or a jungle.
• Multi-sensory play
Combine your playdough with other materials like sand, beads, or water for more sensory play.
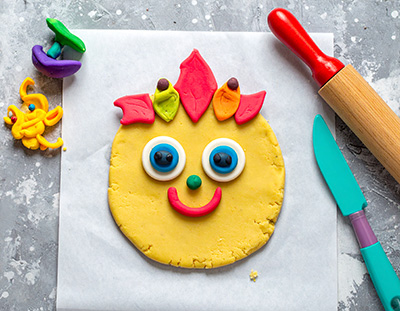
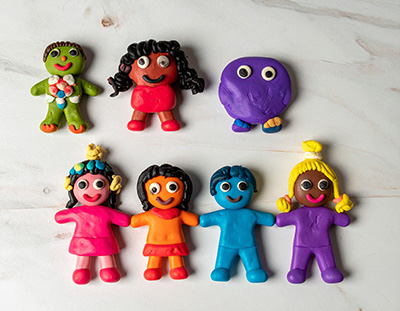
• Playdough people
Task your kids with making playdough people. They could try a self-portrait, create someone they admire, or even make a family portrait! You can really have fun with this and experiment with lots of different features.
Mess-Free Play Tips
We all know and love playdough. However, we also all know how messy it can be! Here we’re providing you with a few tips to lessen this mess and keep everything as clean as it can be.
One key idea is to limit the playdough to a specific area – either a tray they sit in front of, or a mat that goes over a table or the ground. Make sure the tray or mat can be cleaned easily. Try and limit their mess just to the mat, but if you’re worried you could use a drop cloth around chairs or the covered table too.
If your kids have been messy with it in the past, consider trying playing with it outside on sunny days.
Another great way to reduce mess would be to supervise your kids. My favourite way to do this is to join in and play with them!
When you begin to tidy up, first make sure that there’s nothing stuck to your kid’s hair, clothes, hands or even on the bottom of their feet.
Baby wipes work great for a quick cleanup to remove any pieces from hands, or large pieces from surfaces or mats.
You should avoid using just soap and water as this can often just make the playdough stickier.
Vinegar works really well for any leftover stains from playdough. Just mix equal parts white vinegar and water, apply to the area and let it sit for a couple of minutes, and then wash it off. You can also use this tip for stained clothes, or hair that has playdough stuck in it!
As hard as you may try, some pieces may end up in the carpet. The best course of action is to first pick off any excess bits with your hands or a larger piece of playdough (carefully). Then try to vacuum the rest up. If this doesn’t work, let it dry out for a little while, use a stiff brush to loosen pieces, and then vacuum them up.
For the reduction of germs and keeping playdough more sanitary, it’s always a good idea to wash hands before and after using. This will make sure the playdough keeps longer too.
FAQ Section
Here’s a few questions that might crop up when playing with or making playdough at home recipes.
What if it dries out?
• Just add a few drops of water at a time to rehydrate and knead it to restore its softness and malleability.
• You could alternatively add a few drops of vegetable or baby oil to soften it this way instead.
What if it’s too sticky?
• Firstly, try and leave it out for a few hours to dry slightly.
• If this doesn’t work, sprinkle a surface with a little flour or cornstarch and knead the playdough on it – this will absorb the extra moisture.
Can I add more scent or color later?
• Scent you can add at a later point. Sometimes it will fade over time with play, so you may have to add the scent back in occasionally with your homemade playdough.
• Just place the playdough on a surface, add a few drops of the essential oil, then knead. If this makes it too sticky, add a little flour or cornstarch too.
• Color – we’d always recommend adding this in at the time of making it, but you can definitely add more color later and there’s a couple different ways to do so.
• You can either use food coloring or paint. Just put your playdough on a surface, add a couple of drops of food coloring or paint (use watercolor or acrylic for the best results) and then knead it so the color mixes evenly through.
How should I store playdough?
• It’s best stored in an airtight container like a ziplock bag or a Tupperware.
• It’s also best kept in the fridge, which will make it last much longer.
Can I freeze playdough?
• You can definitely freeze your homemade playdough. It won’t completely solidify but will become much more firm. This means it can be great for other play like cutting practice for little fingers.
• Freezing it can also be a good to keep it for a long period of time. Homemade playdough won’t keep forever, so freezing it between uses can help it keep for longer.
DIY Play Dough Recipes
Now it’s time to actually get started making playdough!
There’s a few different ways to make playdough if you want to create the best homemade playdough for your family. Whichever one you choose is totally up to you. Do you just want a classic one? A colored one? Can you cook it? Does your family have any dietary needs? Would you like it to be edible?
These are all things you might want to consider, and we provide a recipe for each of them below. We hope you love making them – I always get my daughter to help out so we can make it together, and would definitely recommend you do the same with your family.
While you wait for your homemade playdough to cool or set, why not grab some fun free printables from Mandy’s Printables? From craft templates to creative activities, there’s something fun for everyone!

Classic Cooked Play Dough Recipe
See below for a classic, no-fuss basic playdough recipe. The steps are simple and the ingredients are common.
Materials Needed:
1 cup of flour
1/2 cup of salt
2 teaspoons cream of tartar
1 tablespoon vegetable oil
1 cup of water
Food coloring (optional)

How to Make the Dough:
Mix Dry Ingredients: In a medium-sized saucepan, combine the flour, salt, and cream of tartar.
Add Wet Ingredients: Pour in the water and vegetable oil into the dry ingredients. If you’d like colored dough, add a few drops of food coloring to the water before mixing.
Cook the Mixture: Place the saucepan over medium heat and stir constantly. The mixture will start to thicken after a few minutes. Continue stirring until it forms a dough-like consistency.
Cool and Knead: Once the dough comes together, remove it from the heat and let it cool slightly. Once it’s cool enough to handle, knead the dough with your hands until it becomes smooth and elastic.
Store: Store the dough in an airtight container or plastic bag. It should stay soft for several weeks.
No-Cook Play Dough Recipe
This no cook playdough recipe is great if you think your kids are too young to help out around a stovetop. It’s a fun and simple DIY playdough for toddlers that you can make safely anywhere.
Materials Needed:
2 cups of flour
1 cup of salt
2 tablespoons vegetable oil
2 tablespoons cream of tartar (optional but helps with texture)
1 to 1.5 cups boiling water
Food coloring (optional)

Steps:
1. Combine Dry Ingredients:
In a large mixing bowl, stir together the flour, salt, and cream of tartar.
2. Add Wet Ingredients:
Mix the food coloring into the boiling water. Then slowly pour the colored water and oil into the dry mix.
3. Mix Thoroughly:
Stir the ingredients with a spoon until they begin to come together.
4. Knead the Dough:
Once cool enough to handle, knead the dough on a clean surface until it’s smooth and pliable.
5. Adjust Texture:
If it’s too sticky, add a little more flour. If it’s too dry, add a tiny bit more water.
6. Store:
Keep it in an airtight container or ziplock bag to stay soft for weeks.
Salt-Free Play Dough Recipe
Salt traditionally acts as a preservative in playdough. However if it’s something you avoid or don’t want to use then there’s other options. In this recipe, cream of tartare replaces the salt as a preservative.
This option is also gentler for those with sensitive skin.
Materials Needed:
2 cups of flour
2 tablespoons cream of tartar
2 tablespoons vegetable oil
1 to 1.5 cups warm water
Food coloring (optional)

Steps:
1. Mix Dry Ingredients:
In a large bowl, stir together the flour and cream of tartar.
2. Add Oil and Water:
Mix the food coloring into the warm water (if using), then add both the water and oil to the dry ingredients.
3. Stir Until Combined:
Mix until a dough forms. It may look a bit sticky at first.
4. Knead It Out:
Transfer the dough to a clean surface and knead for a few minutes until it becomes smooth and pliable.
5. Store:
Keep the dough in an airtight container or ziplock bag. It’s best used within a week or so, since salt isn’t present to preserve it.
Edible Peanut Butter Play Dough
If you have one of those kids that no matter what you do, the thing they’re playing with always ends up in their mouth – this edible playdough is a great option!
It’s also a really fun novelty for kids to be able to play with their food!
Materials Needed:
1 cup creamy peanut butter
1/2 cup honey (or corn syrup as an alternative)
2 cups powdered milk (or powdered sugar for a sweeter version)
Optional: mini chocolate chips or sprinkles for decoration
Note: Only use this with kids who don’t have peanut allergies.

Steps:
1. Mix Ingredients: In a large bowl, combine the peanut butter and honey. Stir until smooth.
2. Add Powdered Milk: Gradually mix in the powdered milk until the dough becomes thick and firm. You may not need the full amount—stop when it reaches a moldable texture.
3. Knead: Knead the dough by hand until it’s smooth and pliable.
4. Play and Eat: Let the kids shape and snack on their creations! Store any leftovers in an airtight container in the refrigerator for up to a week.
Jello Play Dough Recipe
Although this one sounds as if it would be yummy, we wouldn’t really recommend eating it.
The jello is great for adding color and scent – the flavor of jello you pick will control this! For example strawberry jello will give it a more pink/red color and it will smell just like strawberries!
Materials Needed:
1 cup flour
1/2 cup salt
2 tablespoons cream of tartar
1 tablespoon vegetable oil
1 cup water
1 (3 oz) packet of Jello (any flavor/color)

Steps:
1. Mix Dry Ingredients: In a saucepan, combine flour, salt, cream of tartar, and the dry Jello powder.
2. Add Wet Ingredients: Stir in the water and oil until well blended.
3. Cook the Dough: Heat the mixture over medium heat, stirring continuously. The dough will start to thicken.
4. Form a Ball: Keep stirring until the dough pulls away from the sides of the pan and forms a ball.
5. Cool and Knead: Let the dough cool slightly, then knead it until it’s smooth.
6. Store: Place in an airtight container or bag and store in the fridge for longer-lasting fun.
Kool-Aid Play Dough Recipe
This recipe is similar to the jello one above – we wouldn’t recommend eating it but the Kool-Aid in the recipe acts as a really great coloring as well as adding a scent. It’s a really fun one to make!
Materials Needed:
1 cup flour
1/2 cup salt
2 teaspoons cream of tartar
1 tablespoon vegetable oil
1 cup water
1 packet of Kool-Aid (any flavor)

Steps:
1. Mix Dry Ingredients:
In a saucepan, combine flour, salt, cream of tartar, and Kool-Aid powder.
2. Add Wet Ingredients:
Stir in water and oil until everything is well mixed.
3. Cook the Dough:
Cook over medium heat, stirring constantly. The dough will start to clump and then form a ball.
4. Cool and Knead:
Remove from heat and let it cool slightly. Knead the dough until it’s smooth.
5. Store:
Store in an airtight container or bag. The fruity scent should last for days!
Gluten-Free Play Dough Recipe
If you follow a gluten-free diet or you cannot have it in the house due to allergies, then here’s a recipe for you. It doesn’t use traditional wheat flour, but uses a naturally gluten free rice flour instead.
Materials Needed:
1 cup rice flour
1/2 cup cornstarch
1/2 cup salt
2 teaspoons cream of tartar
1 tablespoon vegetable oil
1 cup water
Food coloring (optional)

Steps:
1. Combine Dry Ingredients:
In a medium saucepan, mix rice flour, cornstarch, salt, and cream of tartar.
2. Add Wet Ingredients:
Stir in the water and oil. Add a few drops of food coloring if desired.
3. Cook the Dough:
Heat over medium heat, stirring constantly until it thickens into a dough.
4. Cool and Knead:
Let the dough cool slightly, then knead until soft and pliable.
5. Store:
Store in an airtight container or ziplock bag. Best used within 1–2 weeks.
Scented Play Dough Recipe
Playdough is such a good sensory experience for kids, and this is one of the reasons they love it so much.
We suggest trying out this recipe to make it a multi-sensory experience! Scent the playdough with some essential oils or flavoring extracts which will make it smell lovely while they play with it.
Materials Needed:
2 cups flour
1/2 cup salt
2 tablespoons cream of tartar
2 tablespoons vegetable oil
1 to 1.5 cups water
Food coloring (optional)
A few drops of your favorite essential oil or flavor extract
(Lavender, peppermint, lemon, orange, or vanilla work great)

Steps:
1. Mix Dry Ingredients:
In a large saucepan, combine the flour, salt, and cream of tartar.
2. Add Wet Ingredients:
Mix water, oil, and food coloring (if using). Add your chosen scent to the liquid, then pour everything into the dry ingredients.
3. Cook the Dough:
Stir constantly over medium heat until a dough forms and pulls away from the pan.
4. Cool and Knead:
Let the dough cool, then knead it on a clean surface until smooth.
5. Store:
Place in an airtight container or ziplock bag. The scent will linger for a calming sensory experience.
Sparkly Glitter Play Dough Recipe
Sparkly, glittery playdough is another way to make playdough a multi-sensory experience. Not only will they love playing with it, but they’ll love to look at it sparkle in their hands!
Materials Needed:
2 cups flour
1/2 cup salt
2 tablespoons cream of tartar
1 tablespoon vegetable oil
1 to 1.5 cups water
Food coloring (your favorite magical shade)
1–2 tablespoons fine glitter (any color)

Steps:
1. Mix Dry Ingredients:
In a saucepan, stir together flour, salt, and cream of tartar.
2. Add Liquid & Color:
Mix the food coloring into the water, then add water and oil to the dry ingredients.
3. Cook the Dough:
Heat over medium heat, stirring continuously until a dough forms.
4. Cool & Add Glitter:
Once it’s cool enough to handle, knead the dough and sprinkle in the glitter. Mix it in evenly for a sparkly finish.
5. Store:
Store in an airtight container or ziplock bag to keep it soft and sparkly for days.
Cloud Dough Recipe
If you like your playdough to feel as soft as a cloud and smell wonderful, we recommend this recipe which uses conditioner. It will then take on the scent and color of the variety you use!
Materials Needed:
2 cups cornstarch
1 cup conditioner (any scent and color you like)
Note: Use white conditioner if you want to color the dough yourself.

Steps:
1. Combine Ingredients:
In a mixing bowl, pour the cornstarch and then add the conditioner.
2. Mix It Up:
Stir the ingredients together until they start to clump.
3. Knead to Finish:
Use your hands to knead the dough until it becomes soft and silky. If it’s too sticky, add a little more cornstarch; if it’s too dry, add more conditioner.
4. Add Color (Optional):
If you’re using white conditioner and want colored dough, add food coloring before kneading.
5. Store:
Keep it in an airtight container. It won’t last as long as salt-based play dough, so enjoy within a week.
Final Thoughts on Making Playdough
Making playdough at home is such a simple and fun way to spark creativity in kids of all ages. Whether you’re whipping up a classic batch, experimenting with colorful playdough, or trying one of the easy playdough recipes from this guide, there’s so much hands-on fun to be had.
Playdough is not just a boredom buster – it’s a wonderful sensory activity that helps little ones build fine motor skills, problem-solving abilities, and even a little bit of patience!
I hope you and your family enjoy making your own homemade playdough and creating lots of amazing shapes, scenes, and memories together. If you’re looking for even more fun, don’t forget to check out all the printable activities over at Mandy’s Printables!
Other Printable Resources
If you loved this step-by-step guide on how to make playdough then we have plenty other crafts you’re likely to love too.
For another fun DIY craft, try out this Toilet Paper Roll Lion Craft
Or if you’re interested in a printable resource you can turn into a fun family activity then I’d recommend our Printable Flags of the World!