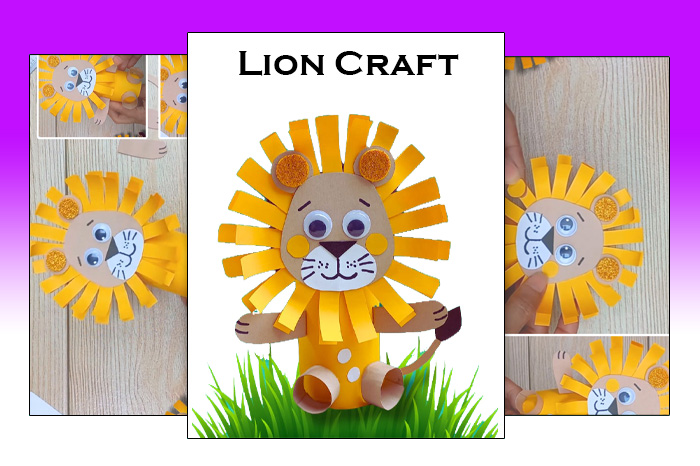
This Toilet Paper Roll Lion Craft is a roaring good time – literally! My daughter and I had such a fun time creating and crafting this lion.
It’s made from just a toilet paper roll, some colored paper and a few other bits you likely already have at home. It’s the perfect idea for a weekend activity – it’s simple, budget friendly, and full of fun personality!
I love creating crafts like this – they’re fun, creative, and a great way to spend quality time with family.
Whether you’re a parent, teacher, or just a fellow craft lover I’m sure this lion will be a real hit.
Keep on reading for step-by-step instructions and some tips we picked up along the way!
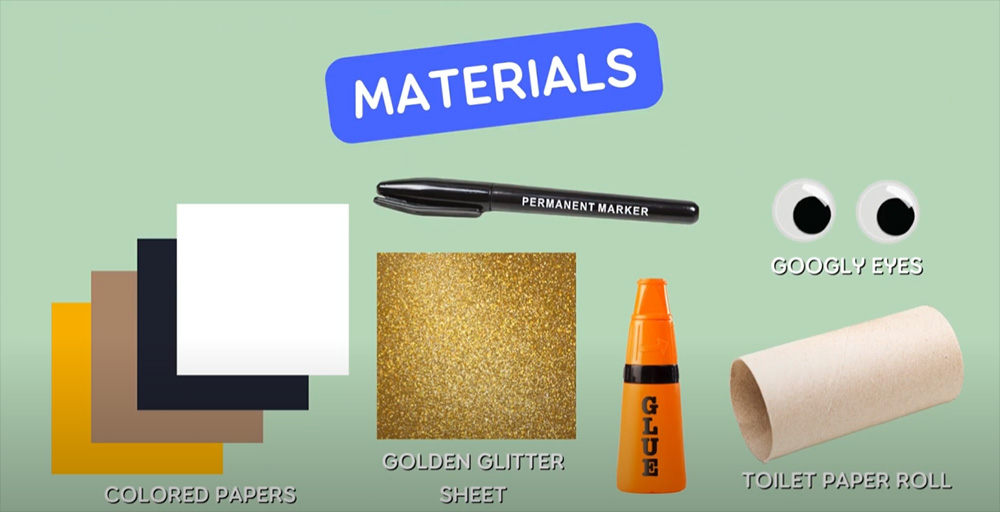
Materials for this Toilet Paper Roll Lion Craft
Here’s a helpful image for you to take a look at for information on all of the materials you need.
Make sure that you have all of the following:
Colored paper
Golden glitter sheet
Toilet paper roll
Glue
Permanent marker
Googly eyes
Scissors
You can also watch the video guide we’ve made below to help you prepare. Seeing the whole process before you begin can be really helpful!
Then you’re ready to get stuck in! Keep reading for the steps below, or jump to near the bottom for the video guide.
Step by Step Guide
Here are the steps to make this super fun lion craft. Feel free to follow along with us!
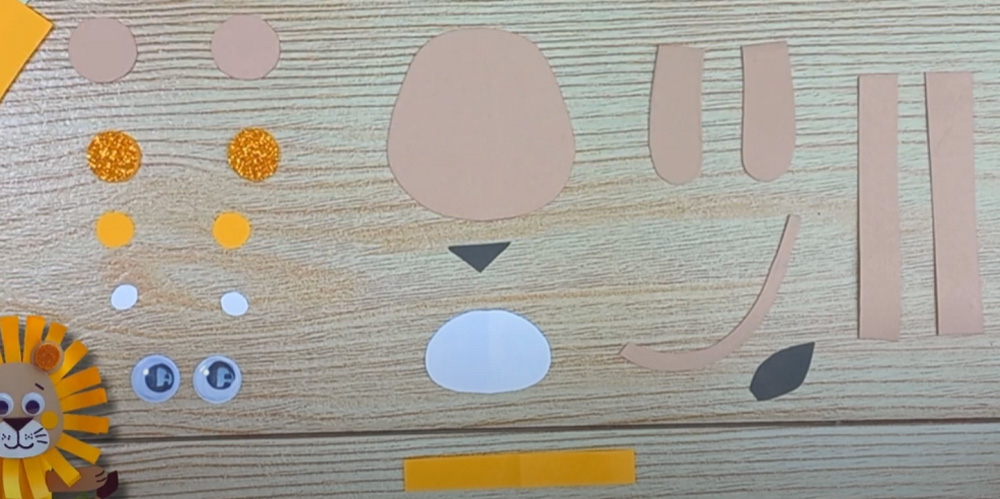
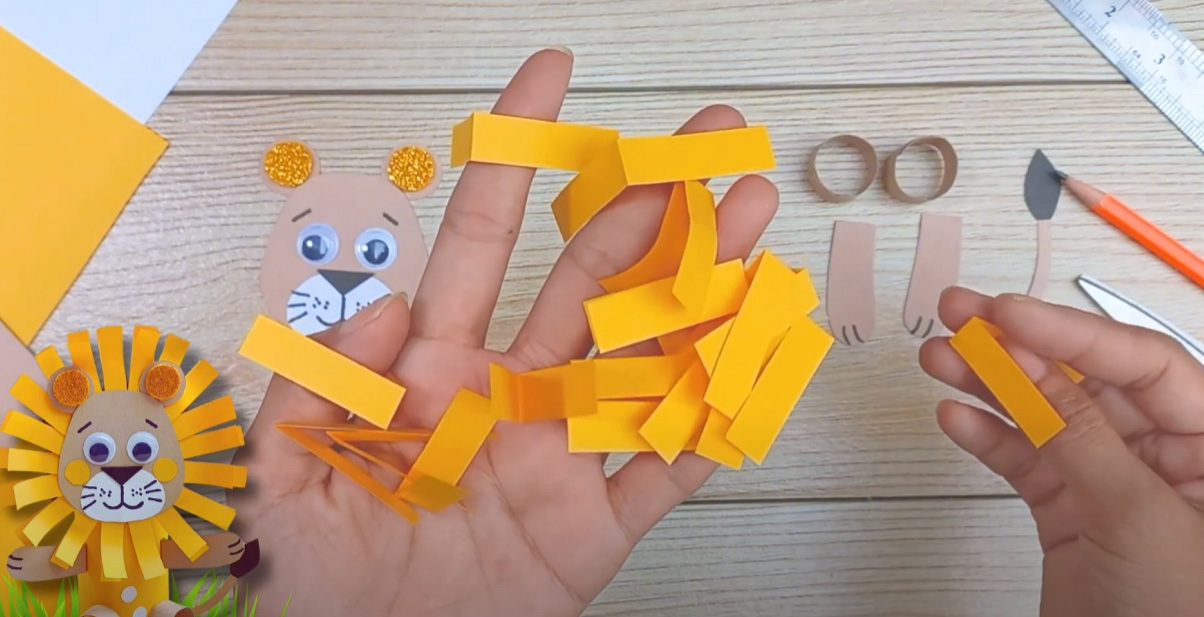
Step 1: Cut out these shapes
Firstly, you’ll need to cut out some different shapes of paper to make up the various parts of the lion.
You’ll need:
Face – a large brown circle to make the lion’s face, and a similar sized one for a backing piece.
Facial details – a small white circle to make up its muzzle, a little black triangle for the nose, and two small yellow circles for the cheeks.
Ears – two brown circles and two slightly smaller gold glitter circles.
Mane – do this now to be prepared, but this can be left for later. Cut out lots of long yellow strips and fold them in half.
Arms – two arm shapes from brown paper.
Legs – two long brown strips, which will later be folded into rings.
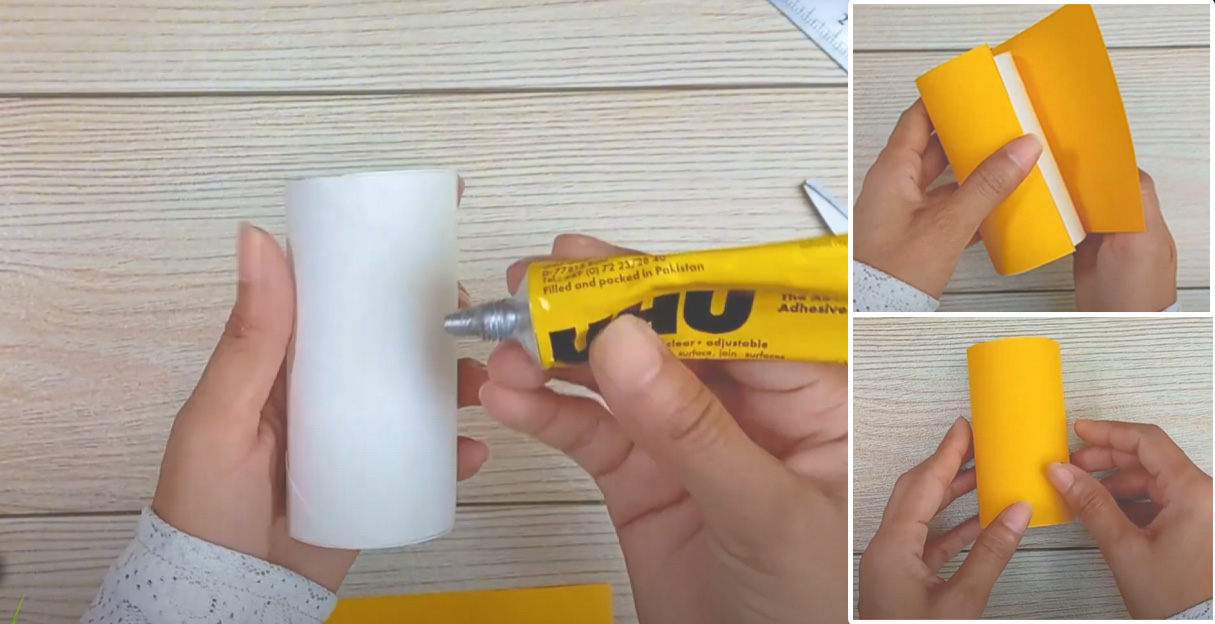
Step 2: Glue the yellow paper onto the toilet roll
Secondly, you’ll need the toilet paper roll, the glue and a piece of yellow paper.
Make sure the yellow piece of paper is the correct shape to wrap neatly around the toilet paper roll. Then glue it in place to create the lion’s body. Make sure it’s smooth and well secured before moving on.
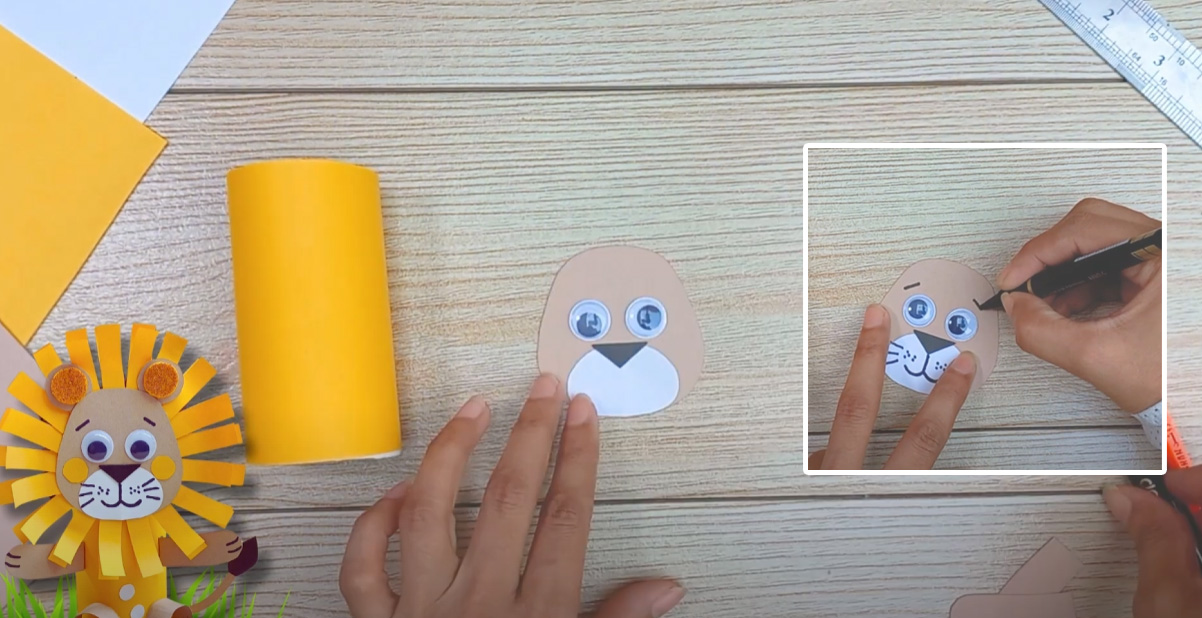
Step 3: Start creating the lion’s face
Thirdly, it’s time to start making the lion’s face, so make sure you have the relevant pieces of paper, the googly eyes, glue and a marker pen.
Glue the smaller white circle on the large brown face, to form its muzzle. Then add the black triangle, pointing downwards, to make the nose.
Stick on the googly eyes (use glue if they’re not self adhesive).
Then draw on more details with the marker pen – add a smile, whiskers, eyebrows and anything else you feel your lion needs. This is where you can really create their personality!
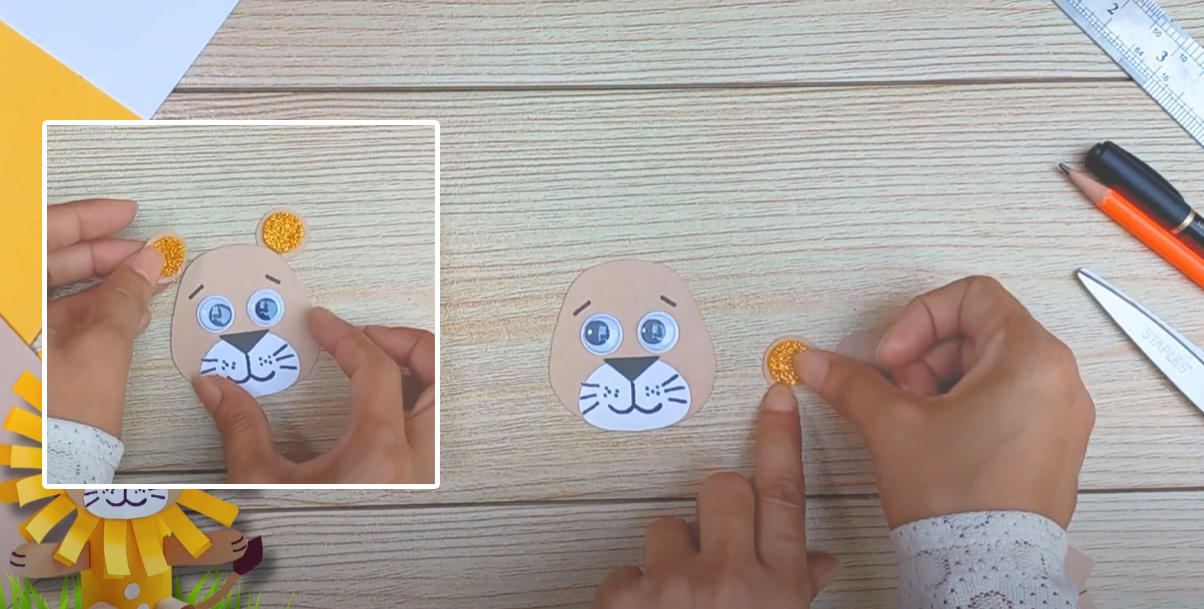
Step 4: Add the ears
You’ll first need to make the ears by sticking the glittery gold circles of paper onto the slightly larger brown ones.
Once they’re ready, then glue them to the top of the lion’s head, one on either side.
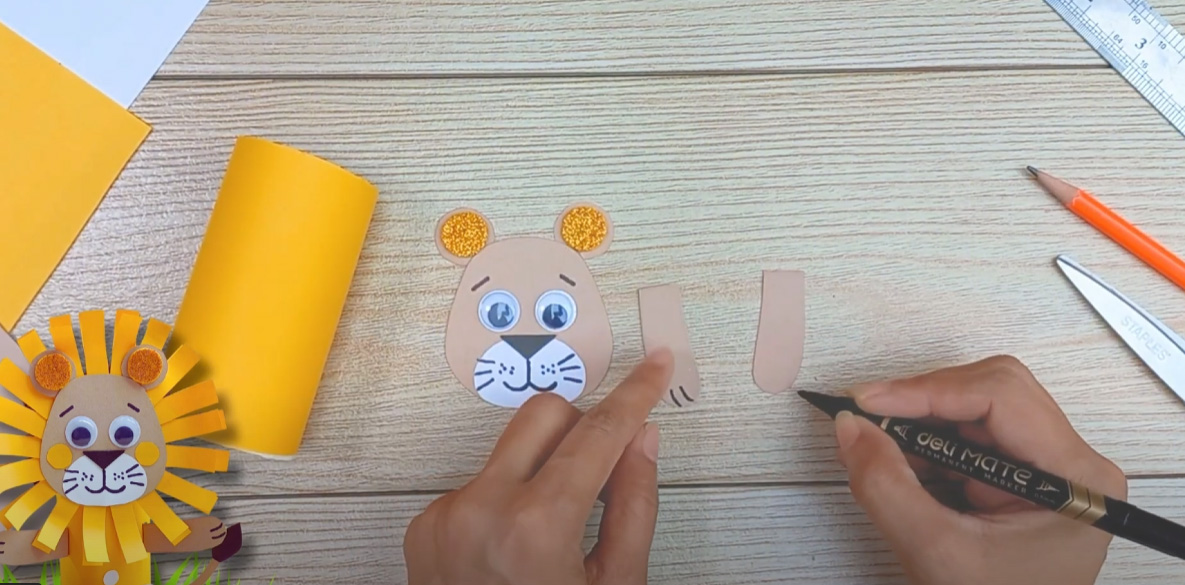
Step 5: Create the lion’s arms
Now you’re ready to begin preparing the lion’s limbs. This first step is simple!
Take the two pieces you cut out for arms and use the marker pen to draw small lines at the ends to look like paws – after all, lions are big cats!
Set these aside.
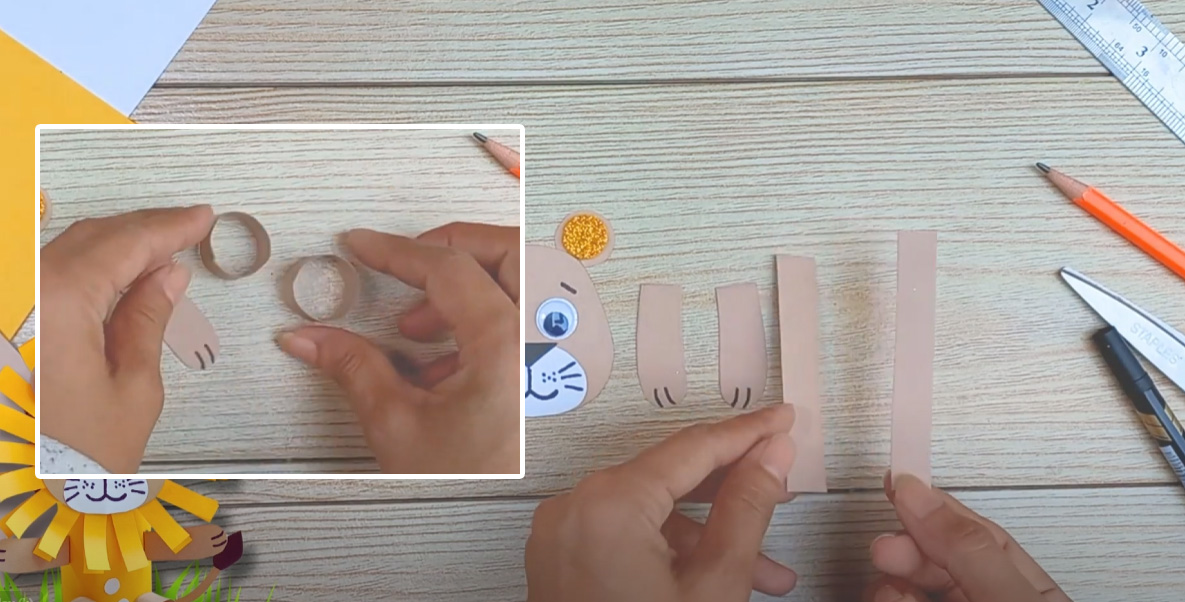
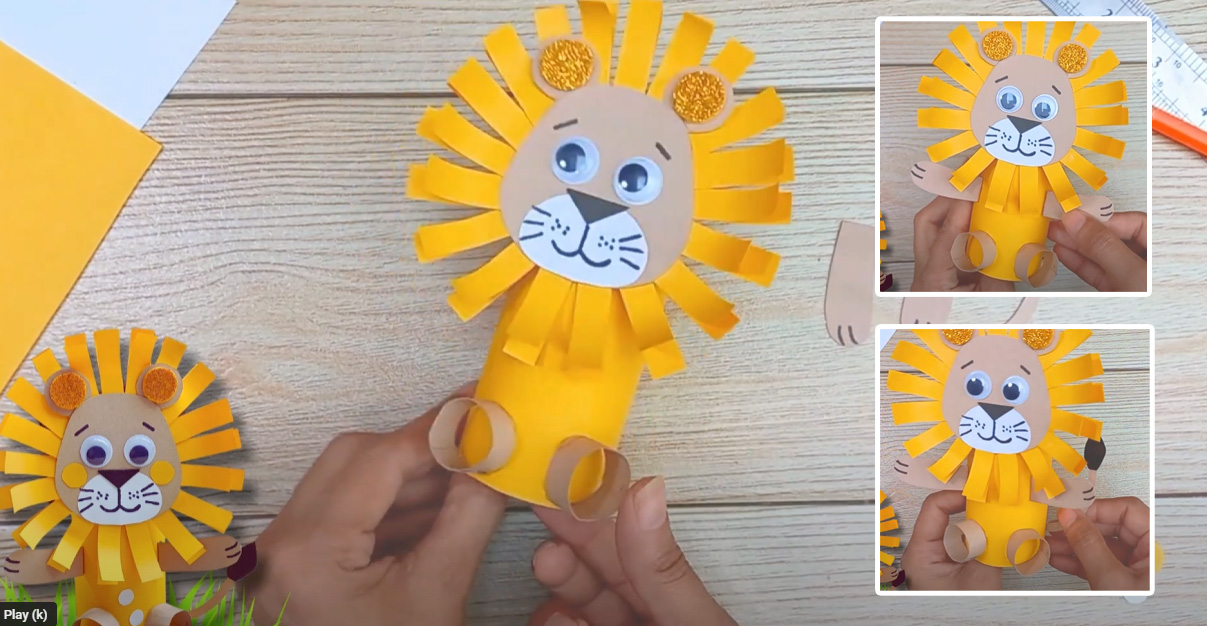
Step 6: Make the lion’s legs
For the legs, take the two long brown strips you cut out earlier and bend them to make a circle shape. Glue these ends together to form two ring shapes of paper.
These simple shapes will sit at the base of the lion to complete its body. Set them aside for now.
Step 7: Put together the tail
The tail is simple to assemble.
First, glue on the small black tuft to the end of the brown tail. Set this aside for now, and all of your lion’s limbs are completed!
Step 8: Cut out the lion’s mane
If you haven’t done so earlier, cut out and fold the yellow strips of paper that will form the lion’s mane.
Make sure you have enough strips so that there are enough to attach all the way around the face. It takes some time, but it’s worth it!
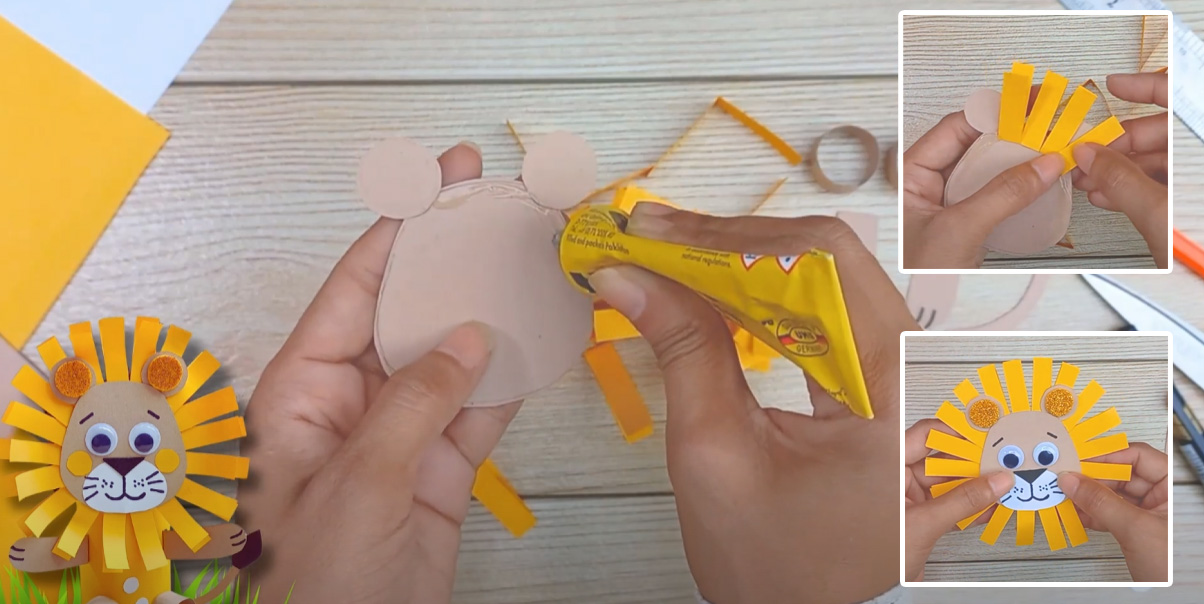
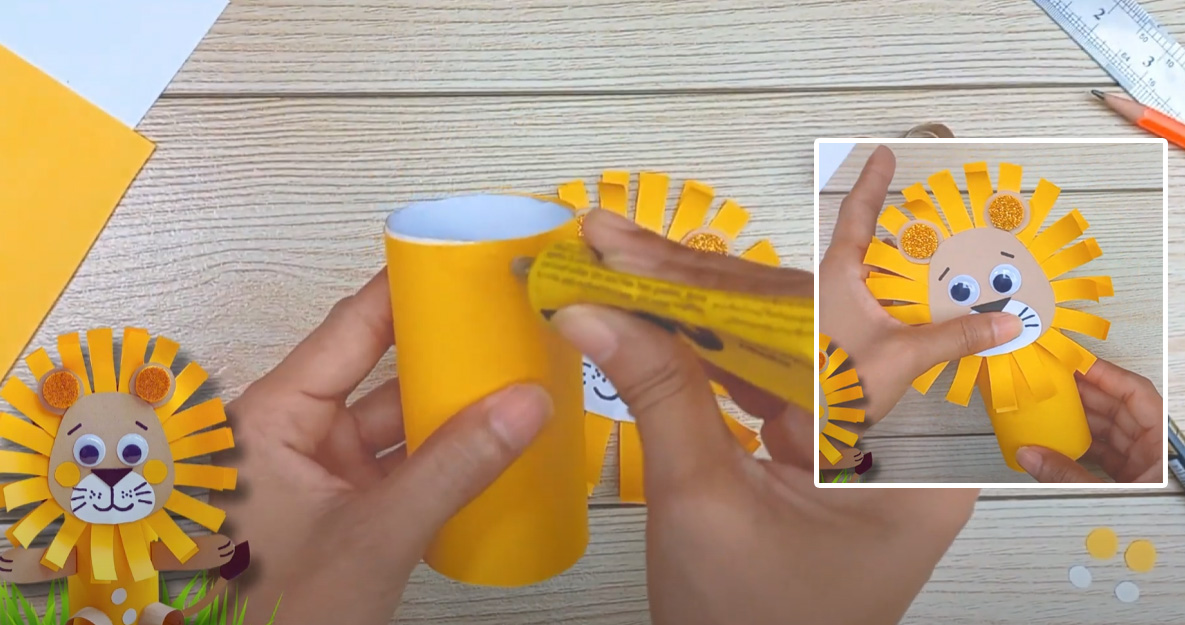
Step 9: Glue the lion’s mane on
When you’re ready, begin gluing on the folded yellow strips to the back of the lion’s face.
Add some glue on the outer edge of the paper and, one by one, attach the pieces of paper. Make sure to stick them on at the folded side, so the loose ends create a fringe.
Keep doing this until the mane is full.
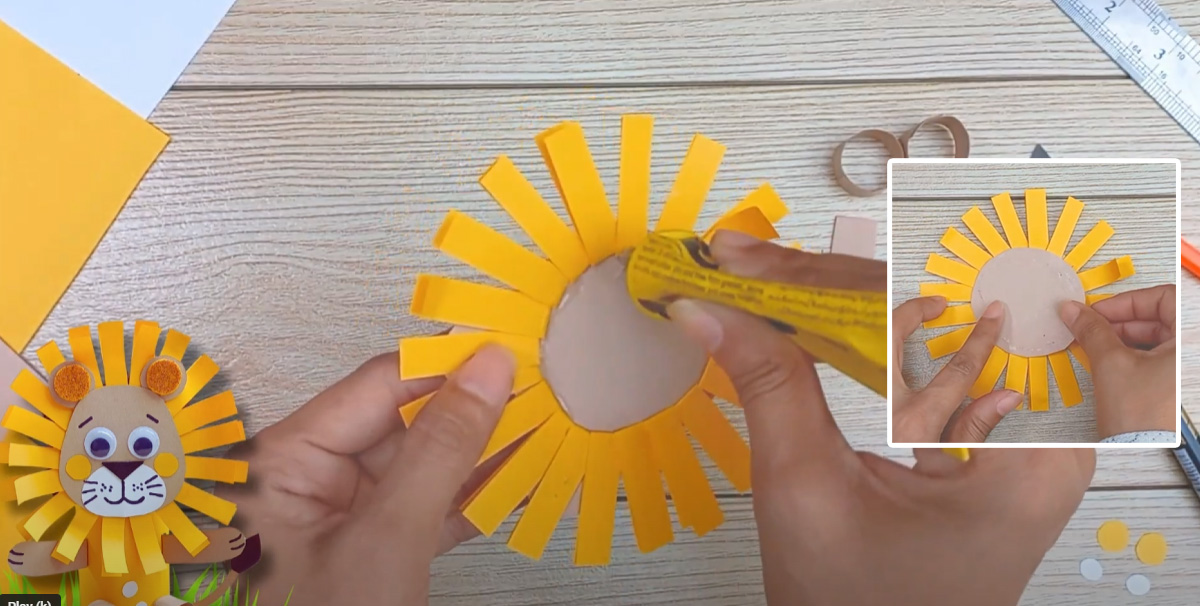
Step 10: Add the backing piece layer
Once you’ve completed the mane and are happy with it, grab the second brown circle that you prepared earlier for a backing piece.
Glue this onto the back of the face, to secure the mane, give it structure, and make it neat.
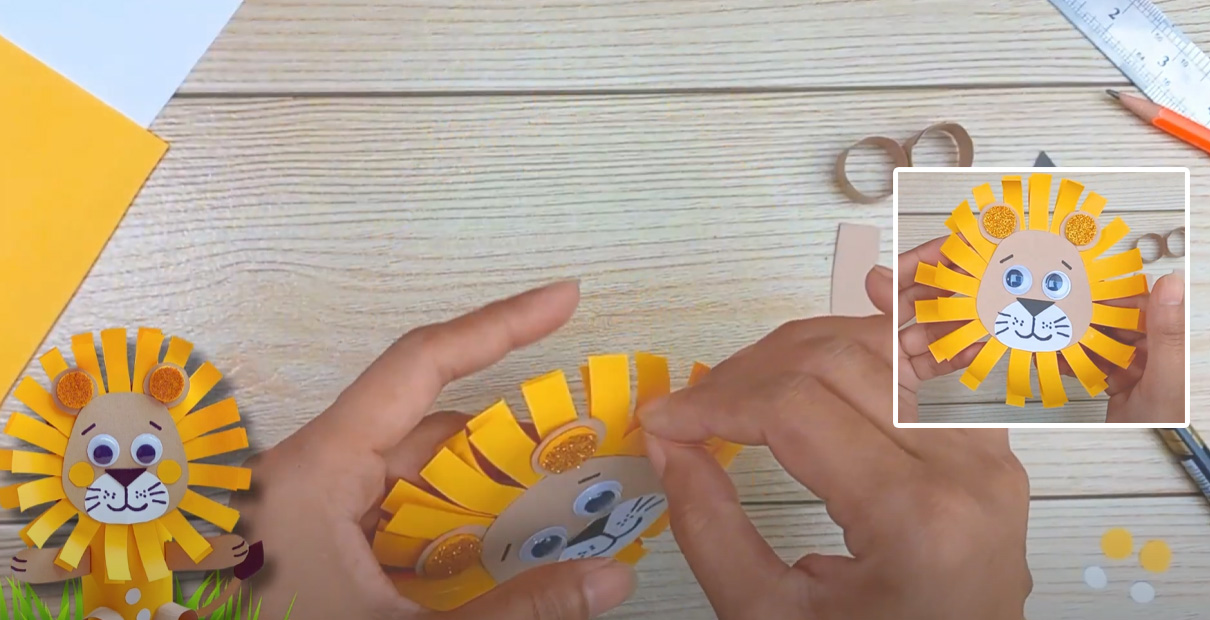
Step 11: Bend the paper for the mane
When the mane is secure and the glue has dried, you can begin to gently bend or curl the strips with your fingers.
This will give it some shape and a fun and slightly wild look!
You now have each of the separate parts completed and just need to put it all together!
Step 12: Glue on the lion’s head
It’s time to attach the finished head onto the yellow body piece from earlier.
Apply some glue onto the yellow-covered toilet paper roll and attach the face firmly on top. Hold it in place until you’re sure it’s secure.
Step 13: Glue on the arms and legs
Next you will need your arm and leg pieces.
Glue the legs to the front lower part of the body so they sit nicely.
For the arms, fold a little flap at the top of each one. Then apply some glue to this flap and attach them to the body neatly, just below the head.
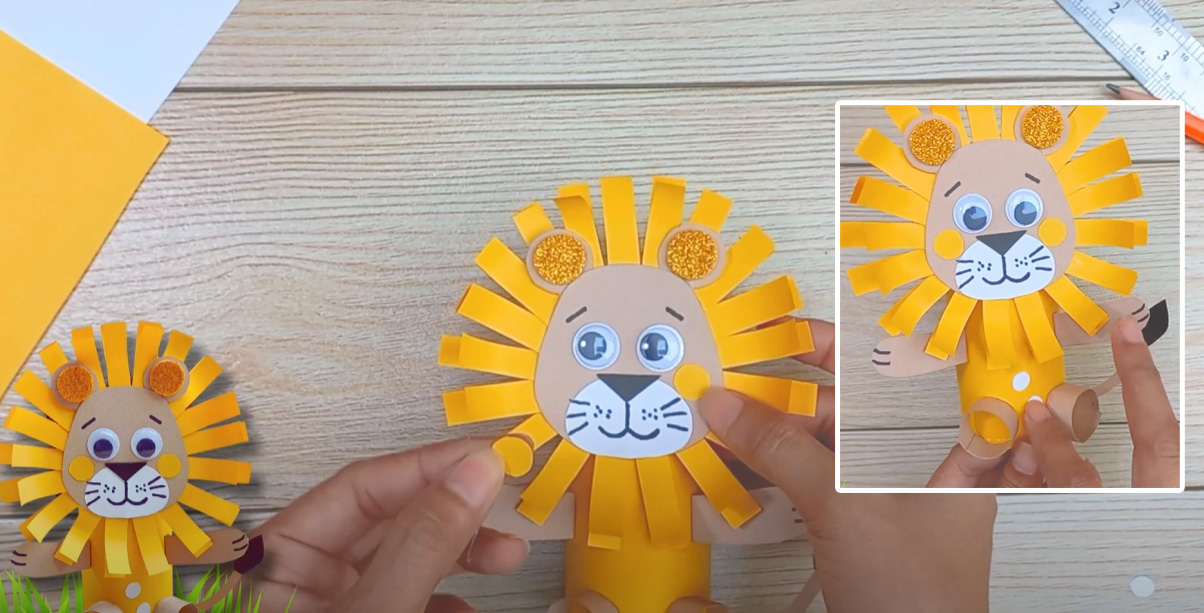
Step 14: Add last details
Then lastly, you just have the final few details!
Glue the lion’s tail onto the back of the body, letting it curve outwards so it will be visible.
Then to complete the face (and the craft!) glue on the little yellow cheeks.
Watch the video guide:
If you prefer visual instructions, we’ve also made a step-by-step guide in video form for making this lion craft.
It can be really useful to see someone else complete the craft so you understand exactly what to do in each step.
We hope you love it!
Other Fun Crafts
If you loved the craft then we have plenty of others I’m sure you will also love.
Next why don’t you try out these Popsicle Sticks Pear Craft for another cute craft with household items.
Or for something a little simpler then try out these Rubber Duck Outline Templates for lots of fun drawing inspiration and coloring!