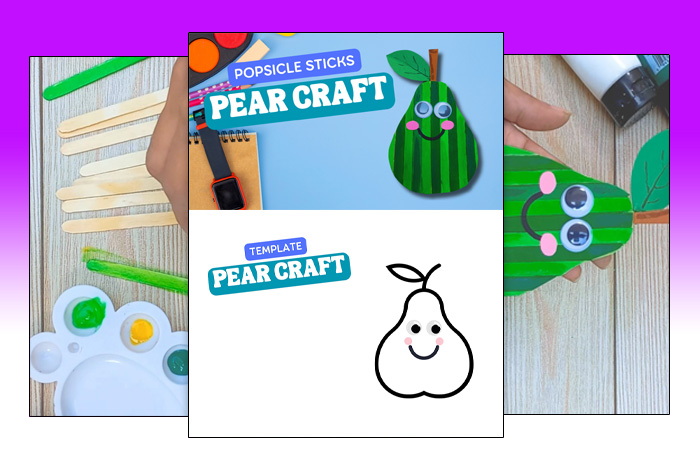
Get ready to get creative with this fun pear-themed craft! It’s impossible not to love this fun and cute Popsicle Sticks Pear Craft, and it’s so simple and easy to do with our helpful how-to guide below.
This is the perfect activity for so many people. A parent looking for something fun to do on the weekend, a teacher or leader looking for a fun new craft, and even for someone looking for a great Spring-themed activity.
What’s even better is we provide you with the pear template, a list of what you will need, and step by step instructions on exactly how to make it. If you need any help there’s also a video guide that will show you the steps too. It couldn’t be easier!
This is a craft great for all ages. It’s a simple shape to work with, and a really familiar idea. Plus, it’s full of so much personality! There’s no reason why not to get stuck in today and begin this project!
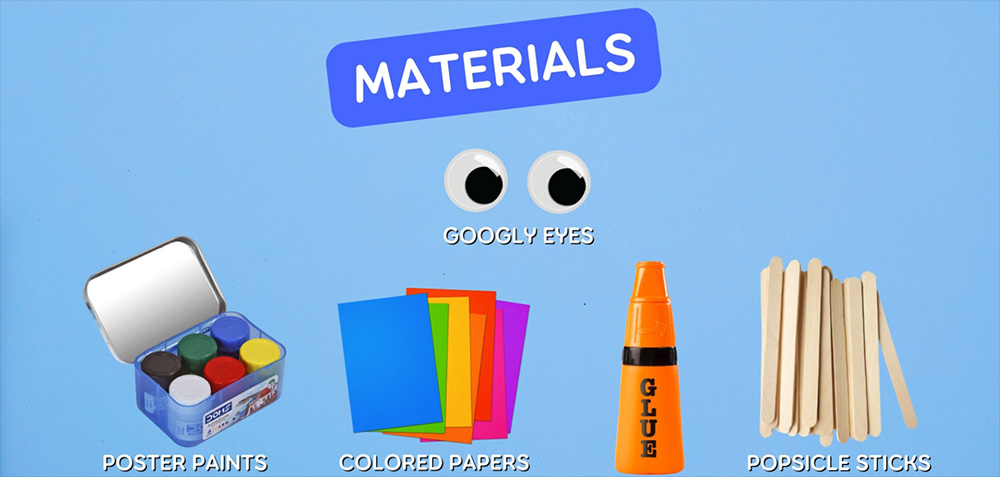
Materials Needed for this Popsicle Sticks Pear Craft
Here’s a helpful image so that you know most of what you’ll need for this craft.
Make sure that you have:
Colored paper Scissors Popsicle sticks Poster paints and a paintbrush Glue Googly eyes (who doesn’t love them!) Colored pens
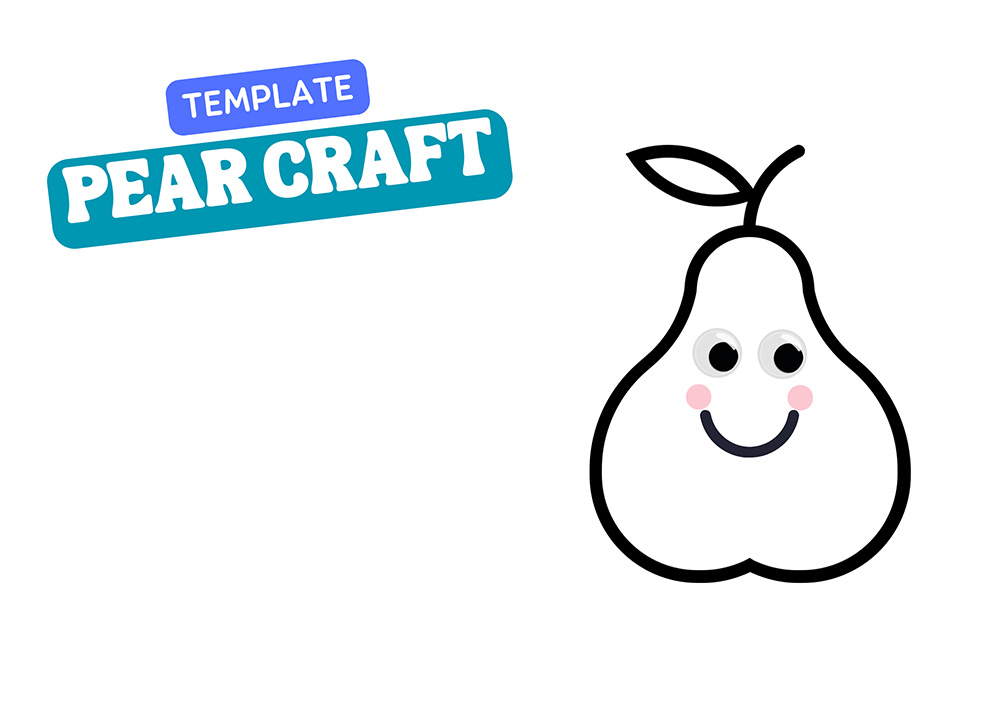
The only other thing to do will be to download the pear template below. To do so, just click on it, which will open the PDF file. All you then have to do is click the download button and this will save it on your computer or device, for free! It’s really simple.
Then, you’re ready to begin crafting!
Step by Step Guide
Here we’re providing you with the steps to follow to make this pear craft. Feel free to follow along with us!
Just a quick reminder that if you’re planning to teach this craft to a group of kids, it’s always a good idea to practice it first. Make sure you’re comfortable to explain the steps to others, and prepare one in advance for the group to see.
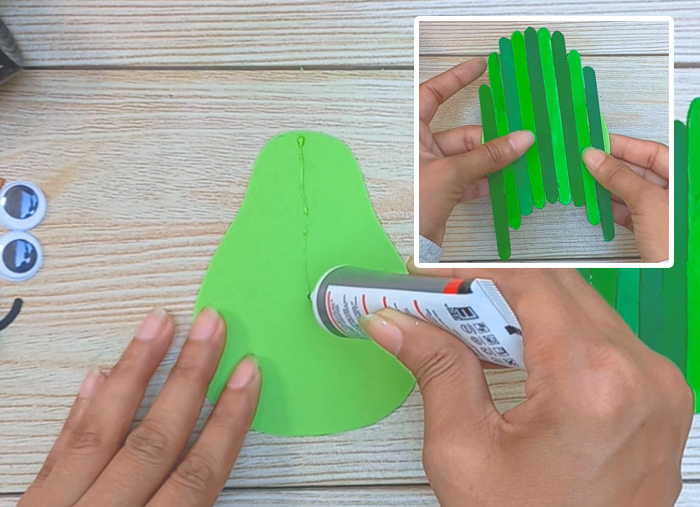
Step 1: Cut out the shapes
Firstly, you must make sure you’ve prepared all of the materials above. Grab the pear templates and some paper. Start with cutting out the shape of the pear on a green piece of paper.
You should also cut out the dark green leaf, brown stem, black smile and pink cheeks. Put these aside until later, but it’s good to have them ready.
You now have the basic shape done and are ready for the next step.
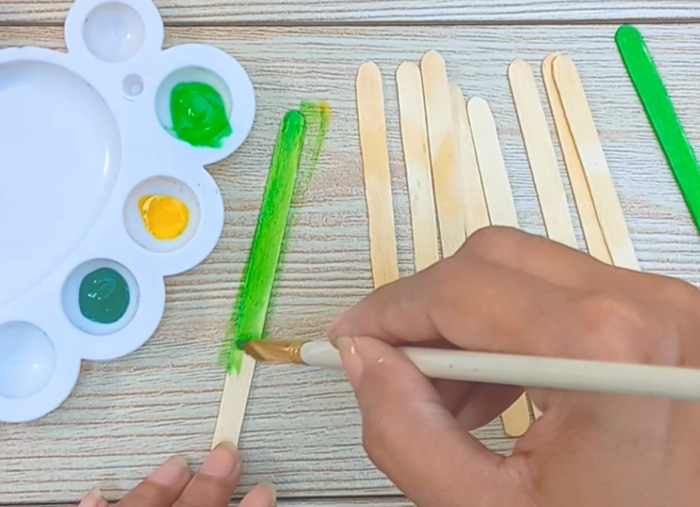
Step 2: Paint your popsicle sticks
Next, grab your popsicle sticks, some green paints and a paintbrush. Make sure you have at least two different shades of green paint to work with, and about 10 popsicle sticks.
Then, paint half of your popsicle sticks the lighter green paint, and the other half the darker one.
Feel free to also get creative and mix in some yellow to make some parts a little lighter. This may add depth to the colors.
Let them dry before continuing.
Step 3: Glue the popsicle sticks on
Take your pear cutout, the now-dry painted popsicle sticks, and some glue.
Lay some glue down the middle of the pear, from top to bottom. Then place a painted popsicle stick on this to stick it down.
Repeat this step, adding glue right next to the popsicle stick you just attached, and attaching the second color of green popsicle stick.
Repeat this, each time alternating the color of the popsicle stick. This should result in a fun stripy pattern emerging.
Let the glue set.
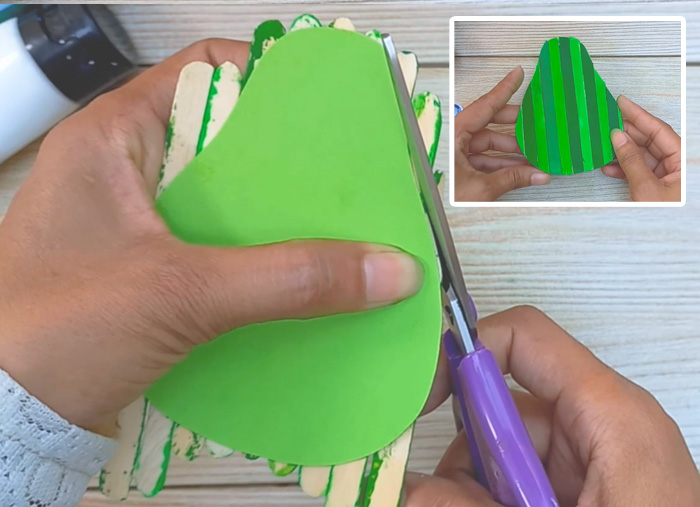
Step 4: Cut the popsicle sticks
You now have lots of popsicle sticks glued onto the pear-shaped paper in front of you.
Next, flip over the craft so you see the pear shaped piece of paper on the other side. Then, grab a pair of scissors.
With care, you need to cut off the overhanging popsicle sticks so that it resembles the shape of a pear again.
This step isn’t difficult but it may be a good idea to give young kids a helping hand if they’re finding it tricky.
When you finish cutting, you should be able to flip the craft again to see the popsicle sticks – now in the shape of a pear! Now it’s time to start the finishing touches.
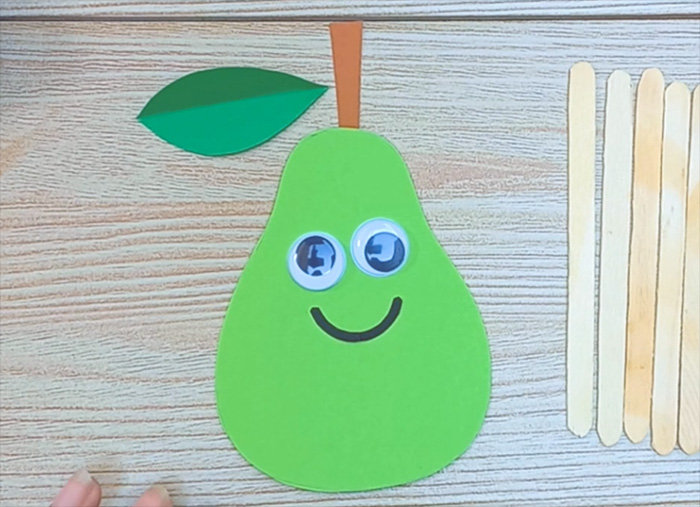
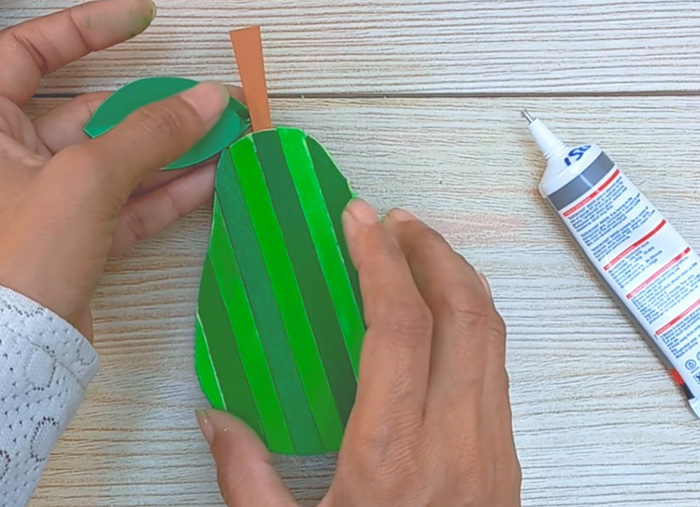
Step 5: Glue on the stem and leaf
You next want to take the stem and leaf you prepared earlier, and the glue again.
And then you simply need to stick these on! Pop some glue on the stem and attach it to the paper side, right at the top of the pear of course!
And then attach the leaf onto the stem too.
Step 6: Start adding facial features
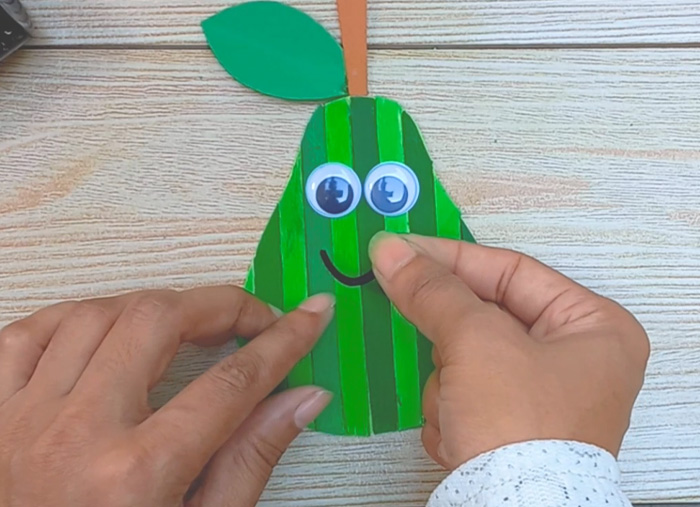
Then grab the googly eyes and the black smile you prepared earlier.
Using the glue again, stick these on in the middle of the pear. Now it’s really taking shape!
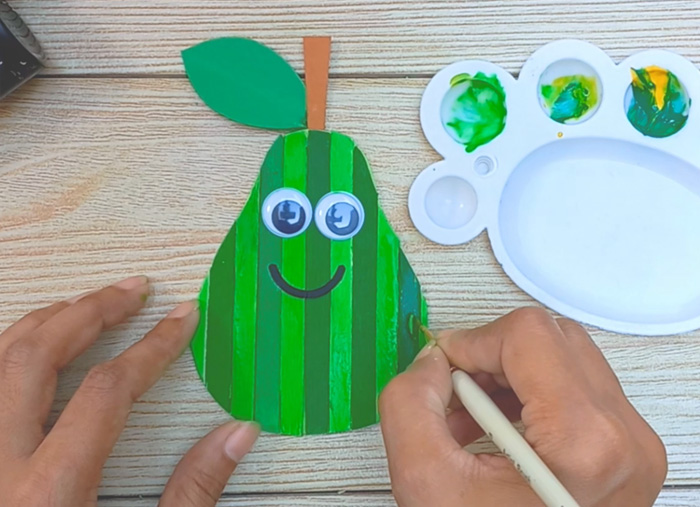
Step 7: Add some details
Next, you can grab your paints again and add in some more details to the body of the pear.
Adding in more colors will add dimension to your pear and can give it more of a 3D effect too!
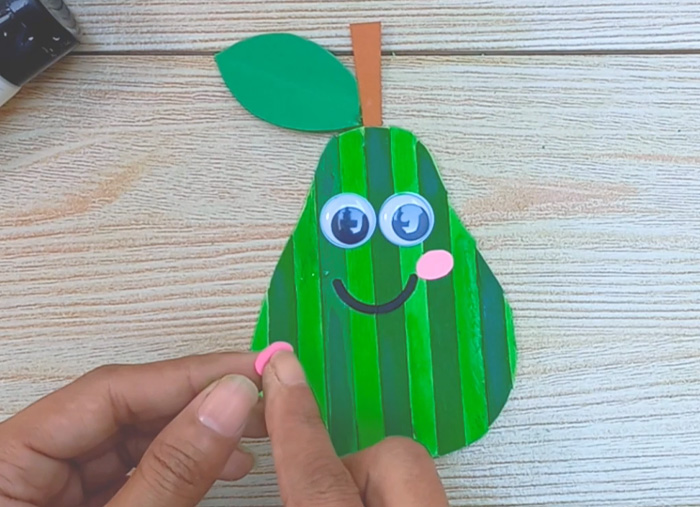
Step 8: Finish the face
One of the last steps to do and pieces to add is the little pink cheeks you prepared earlier.
Using some glue, add these to the face.
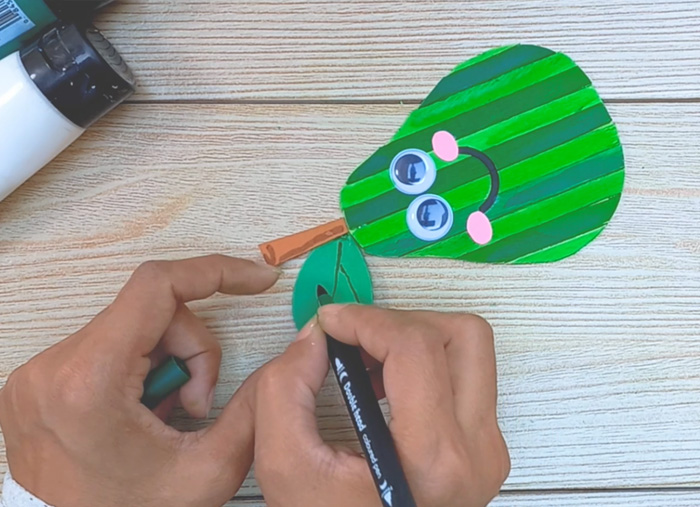
Step 9: Add the last details
Then grab some pens, and add in some last little details. We chose to add details to the stem and the leaf to make it look more realistic.
Step 10: Enjoy!
And you’re done! You’ve crafted a pear out of just popsicle sticks, paper, paint and googly eyes!
We hope you had as much fun creating it as we did!
Watch the Video Guide
If it helps at all, then please do feel free to watch this video guide we prepared below.
It shows you all of the steps you need to complete, so it can be really helpful if you’re more of a visual learner, or you’re struggling a little with a step.
Other Fun Crafts
If you liked this crafting activity then we have plenty of others for you to start next.